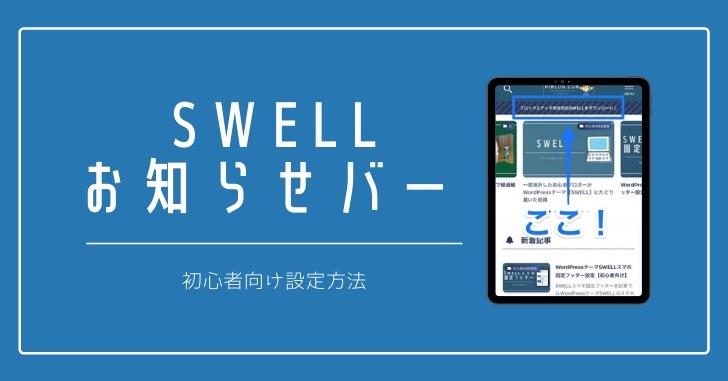

本記事ではWordPressテーマSWELLのお知らせバーの設定方法をご紹介します。
手順通り進めていってみてくださいね。
ブログ初心者さんがSWELLを購入したものの、何からカスタマイズしていったらいいのか分からないという方のために、とりあえず先に見栄えを良くして「ブログを書く」というモチベーションを保つためにSWELL設定の主要ポイントをお伝えしています!
 Him
Him超初心者さんに向けて書いているので、分からない専門用語は一切省きます。安心して読み進めてみてくださいね。
記事の内容
SWELL機能【お知らせバー】とは
SWELLでは、重要なお知らせを分かりやすくアピールするための「お知らせバー」という機能を実装しています。
SWELL公式サイト お知らせバーの設定方法
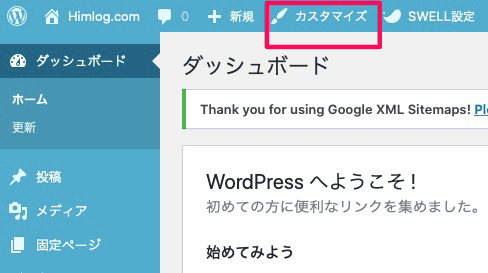
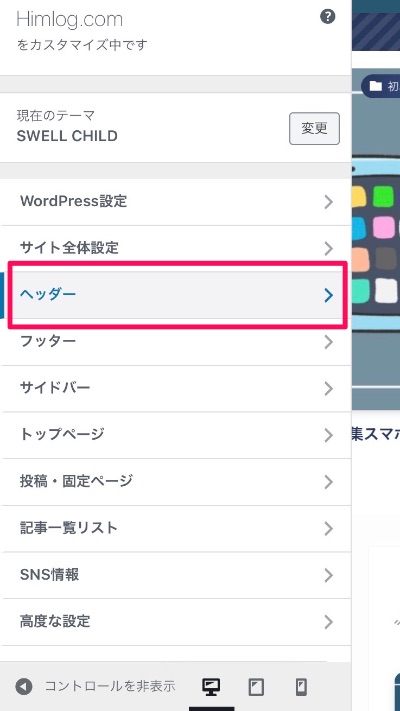
WordPressダッシュボード画面【カスタマイズ】をクリック
カスタマイズ画面の【サイト全体設定】をクリック
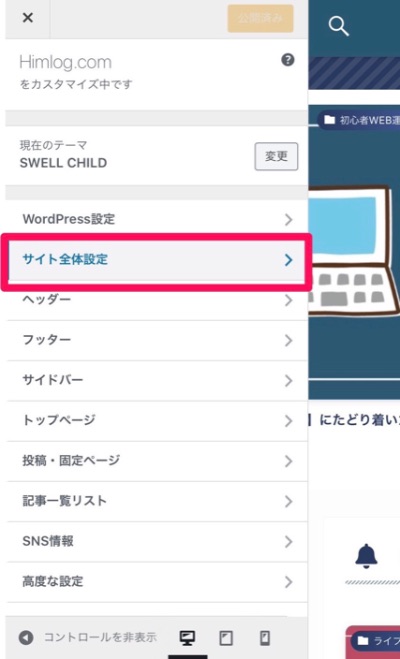
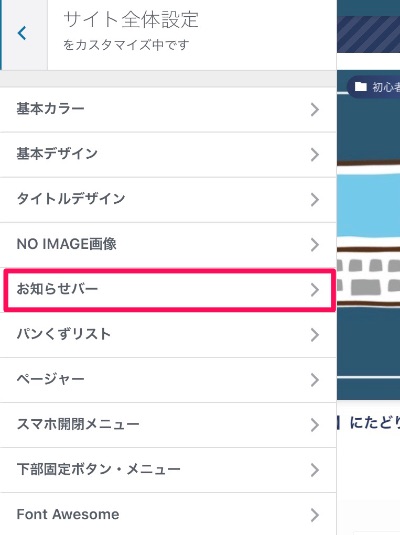
サイト全体設定画面の【お知らせバー】をクリック
【参考例】私のお知らせバー設定画面
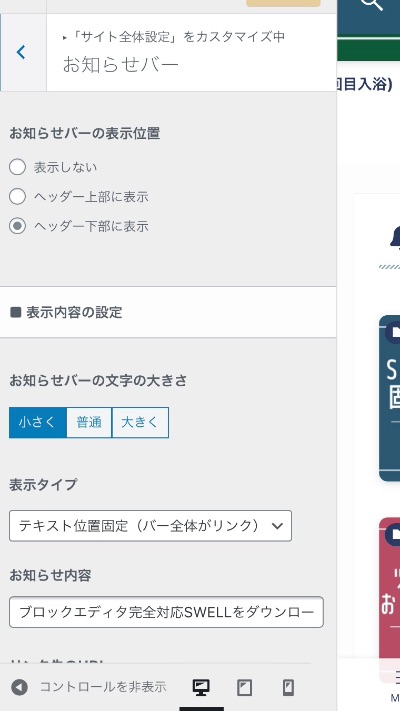
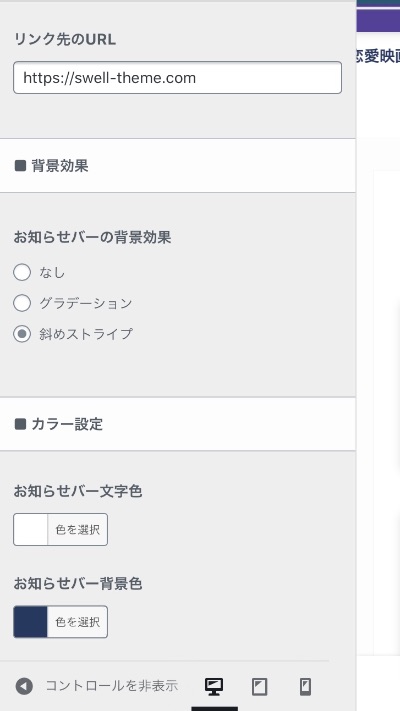
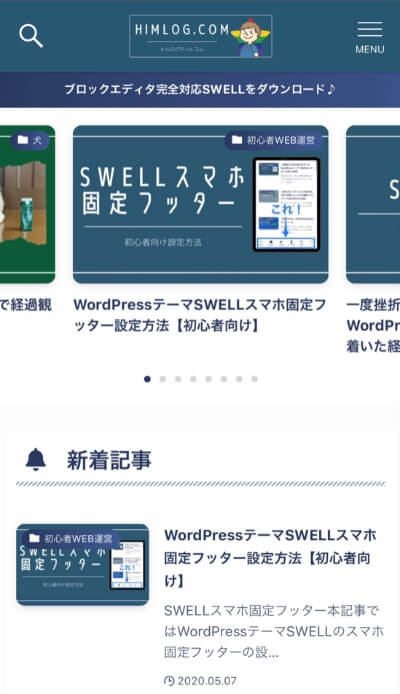
左から順に上記のような設定にすると、以下のように表示されます。(スマホから見た画像)
ヘッダー下部にお知らせバーが表示されるように設定してあります!
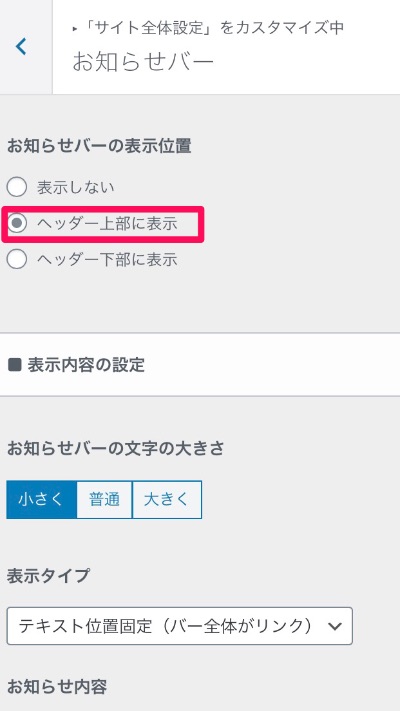
お知らせバーの表示位置をスマホのヘッダー【上部】に表示する場合
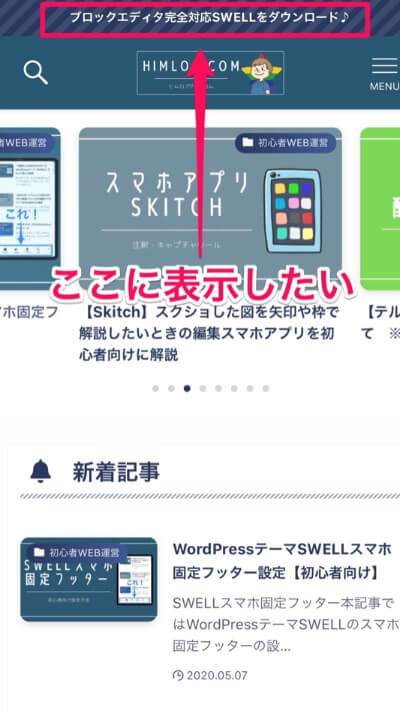
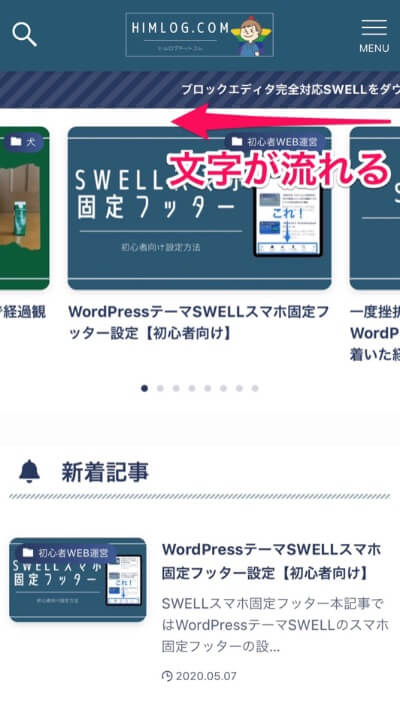
スマホでこのようにヘッダー上部に表示させたい
お知らせバーの表示位置の【ヘッダー上部に表示】を選択
 Him
Himこれだけではスマホの画面では変化がありません!もうひとつ設定が必要です。
カスタマイズ画面の【ヘッダー】をクリック
ヘッダーの追従設定で、【ヘッダーを追従させる(SP)】のチェックを外す
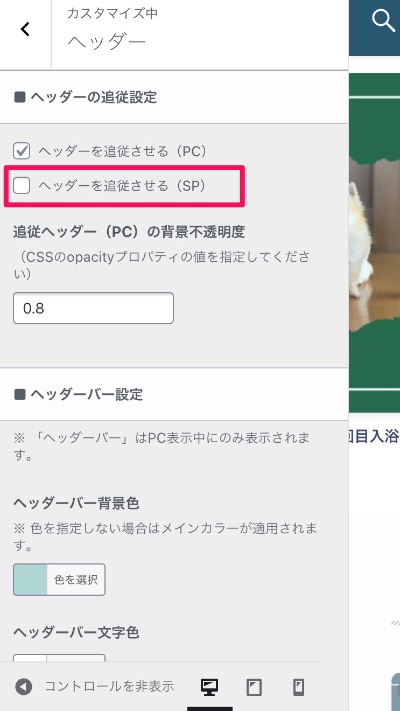
スマホで見た場合、この追従設定がオン(チェックが入っている状態)になっていると、お知らせバーをヘッダー上部に表示させることはできないようです。
Him私はスマホでヘッダー追従を重視したいので、お知らせバーの表示はヘッダー下部に設定しています。
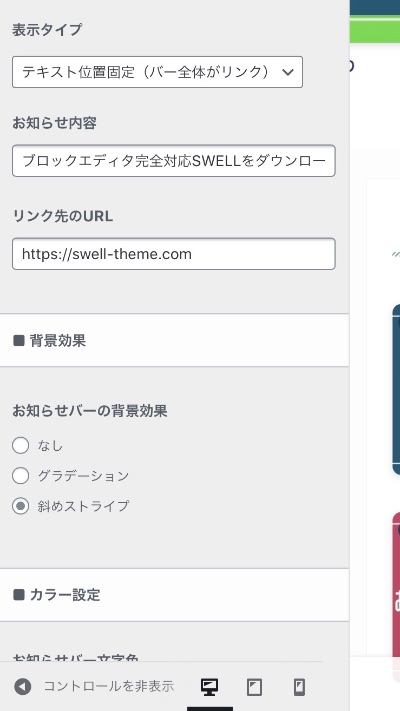
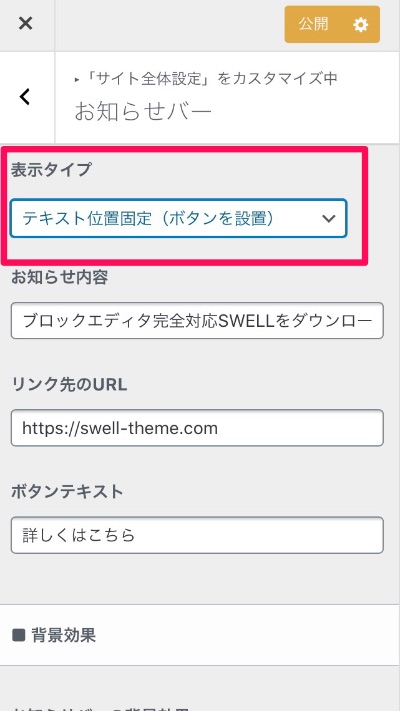
お知らせバーの表示内容の設定、その他の【表示タイプ】
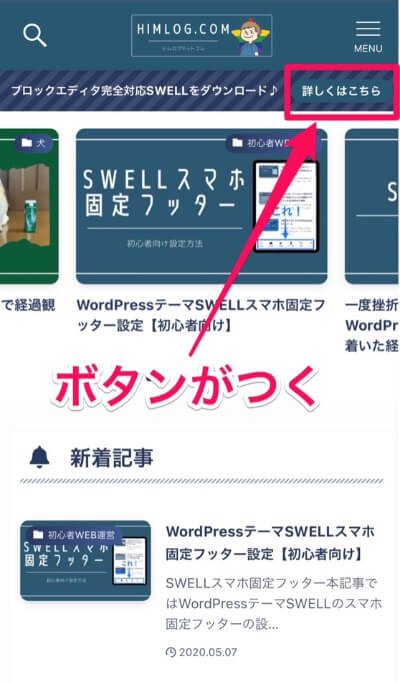
テキスト位置固定(ボタンを設置)
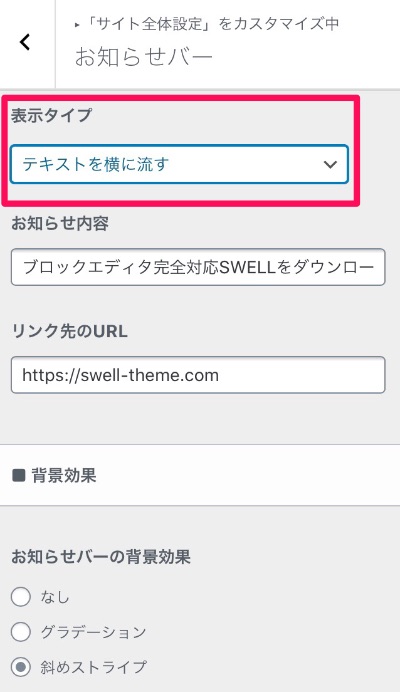
テキストを横に流す
 Him
Him私は現時点ではテキスト位置固定(バー全体がリンク)に設定しています。
お知らせバーの背景効果
グラデーションを選択した場合
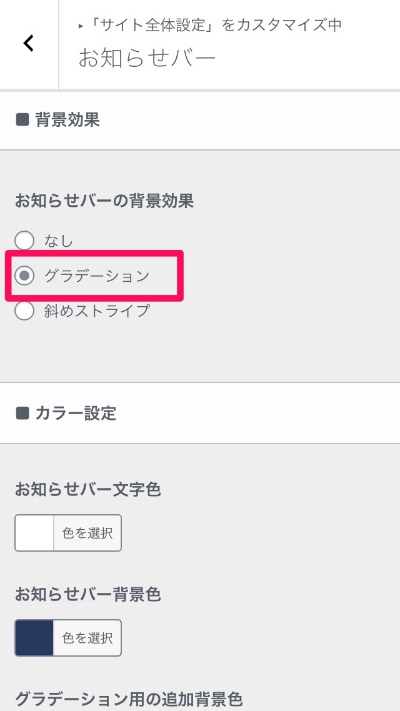
 Him
Him私は現時点ではストライプに設定しています。
以上、WordPressテーマSWELLのお知らせバー設定方法でした!
その他のSWELL設定関連記事
あわせて読みたい

一度挫折した初心者ブロガーが【SWELL ワードプレステーマ】にたどり着いた経緯
こんな疑問やお悩みにお応えします! ブログ初心者におすすめのワードプレス有料テーマSWELLが気になる。初心者目線からの決め手が欲しい! Himです♪@himlog_com 初心者…
@himlog_com